
eRacks Systems Tech Blog
Open Source Experts Since 1999
UEFI and the eRacks/ZENBOOK13
 Minty Zenbook
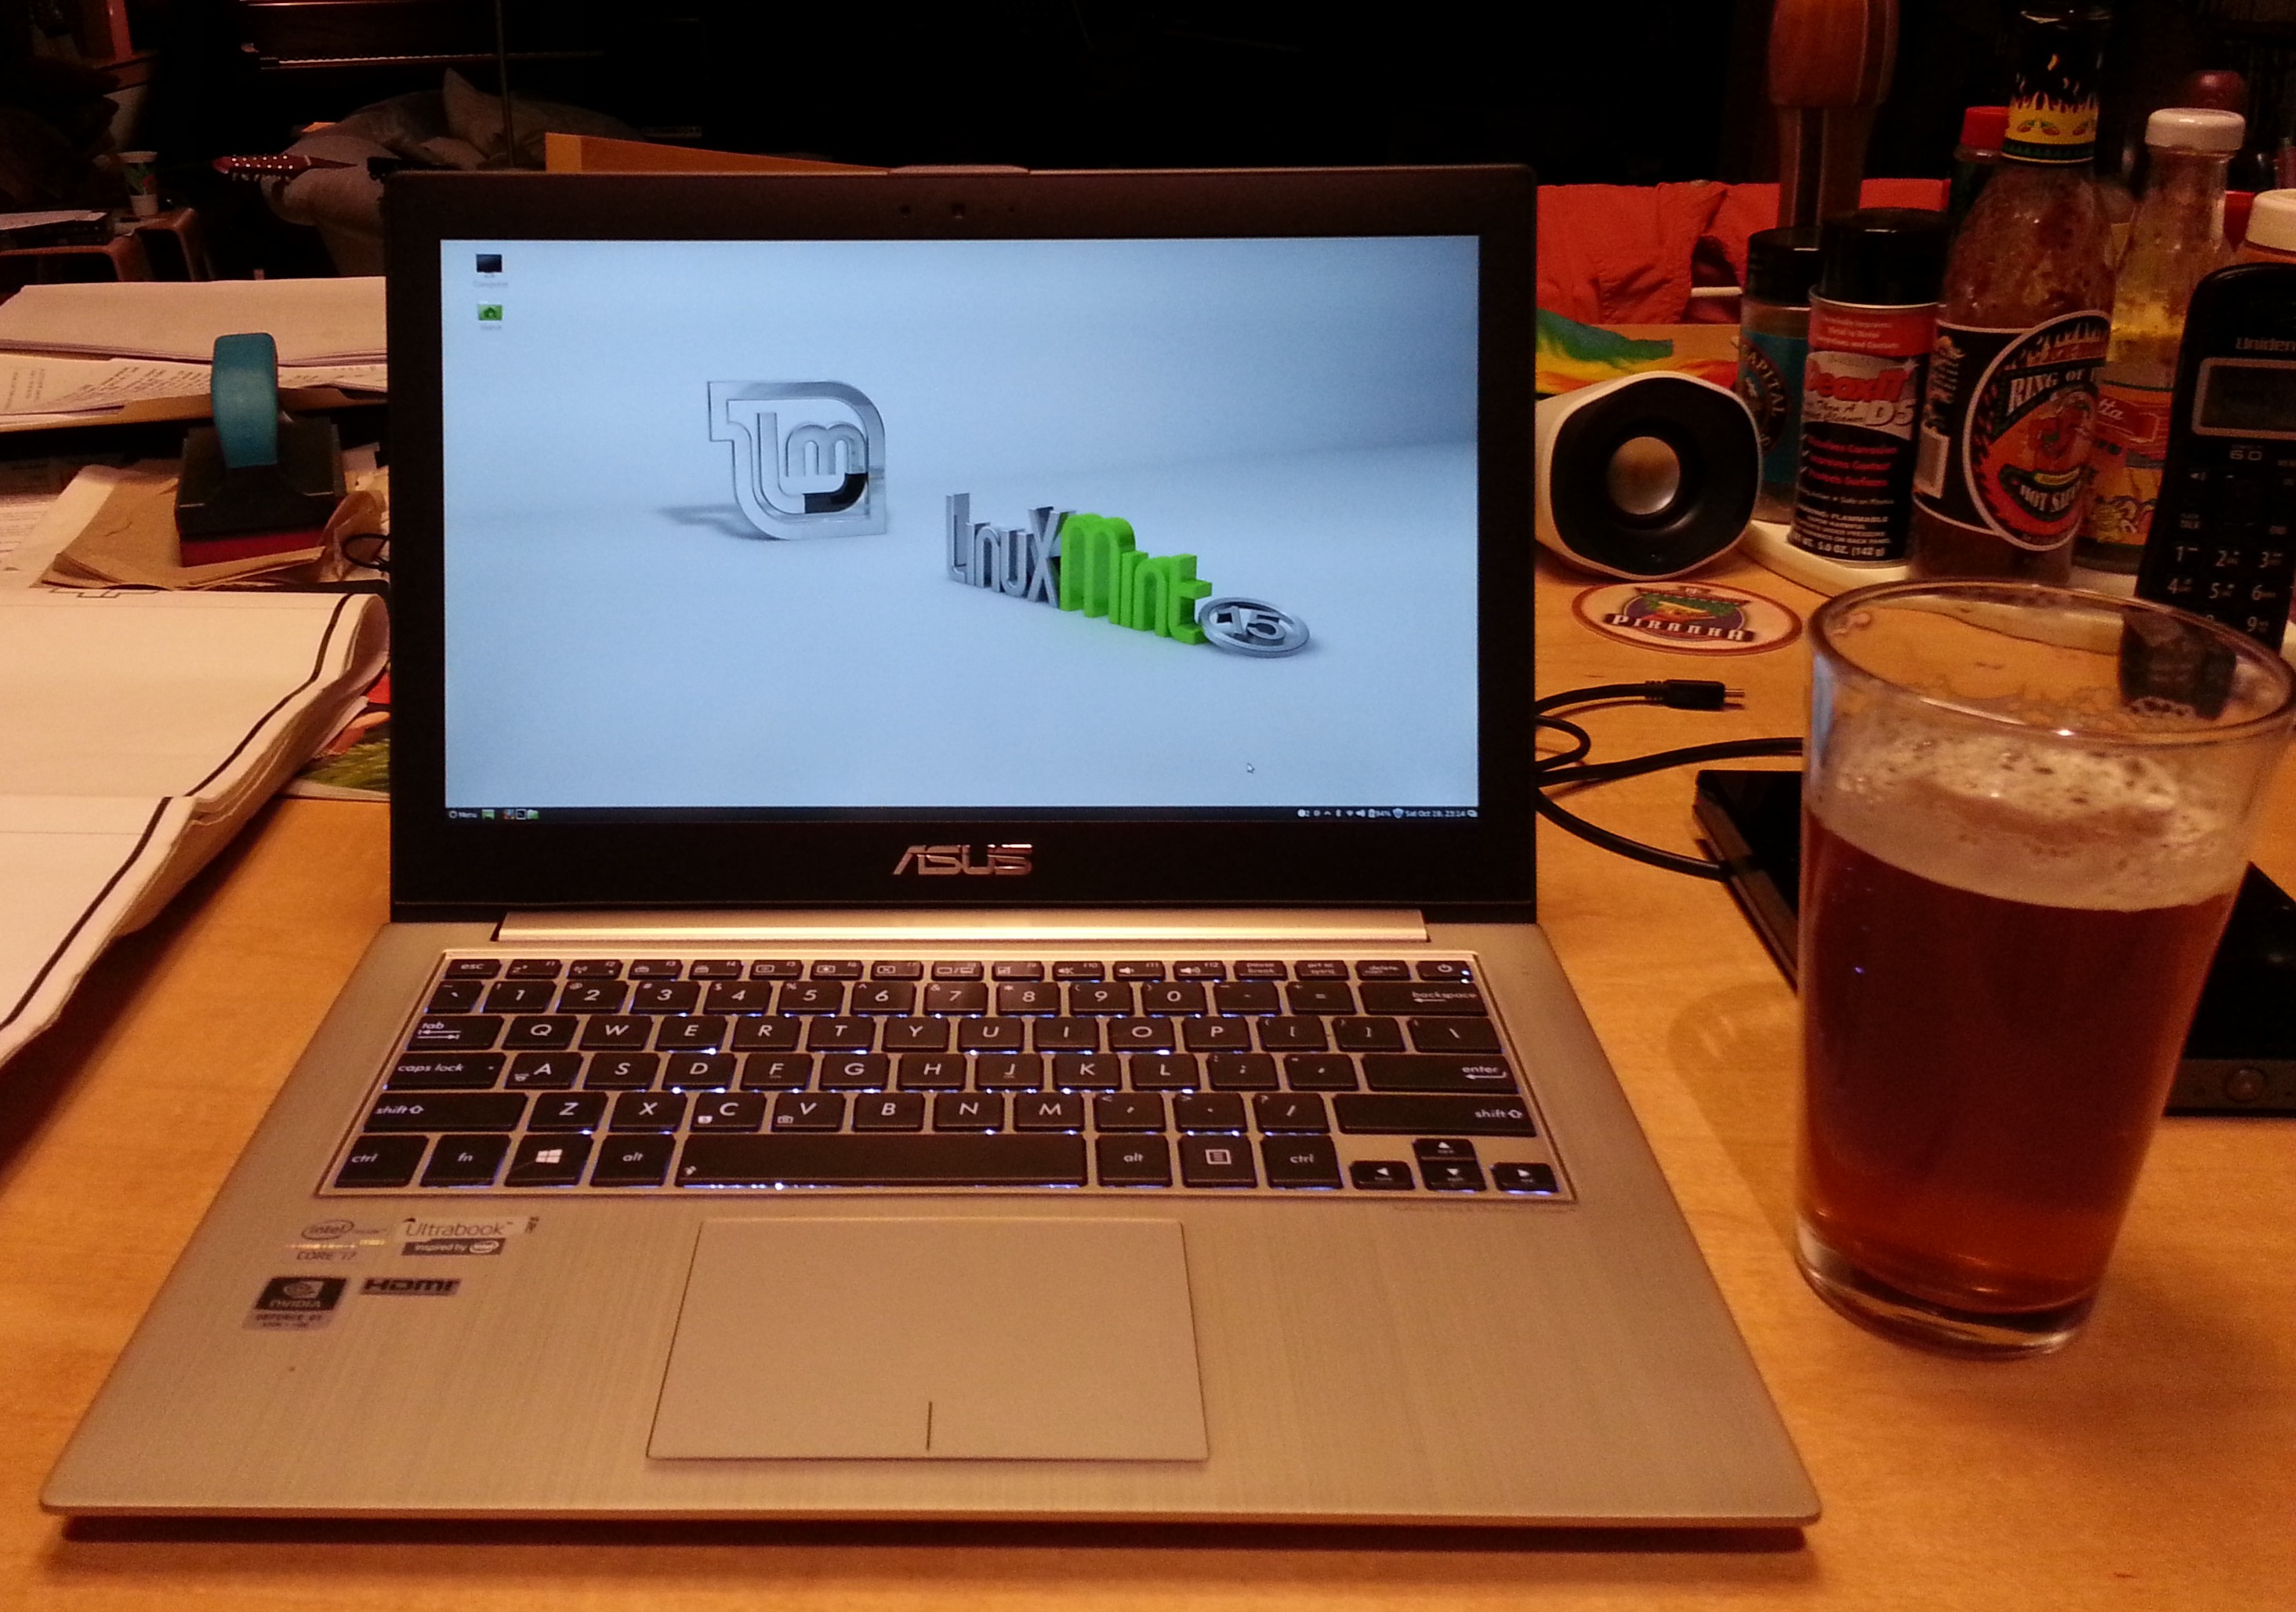
I am typing this on a nifty new eRacks/ZENBOOK13, with Linux Mint15 installed.
This is a slightly newer rev of the very pretty Asus Zenbook line, with twin 128GB SSD modules installed in a small carrier which screws into the standard 2.5″ HD space (it could also be replaced or upgraded with one of our standard HD/SSD choices, here: http://eracks.com/products/laptops/ZENBOOK13/)
This post will walk you through what we had to do for the installation, with the details.
Installation Cookbook
- Boot to an Ubuntu 13.04 install disk. (13.10 should work, or Ubuntustudio works too, that’s what I used). For some reason, the Mint installer doesn’t install the default EFI boot choice properly, so you have to start with Ubuntu, then replace it with Mint. Read on.
- Using gparted (fdisk could work, too), delete the partition tables on /dev/sda and /dev/sdb, and replace the GPT-based partition tables with with msdos-type partition tables.
- Install Ubuntu on the 1st of the two SSDs. Don’t worry about the 2nd disk (_yet_). Be sure to check the “Install with LVM” box after you select the default “Erase and install…”.
- Reboot into Ubuntu, and note the partitions cerated.
- Boot into a Mint 15 Install disk.
- Install Mint15 into the same partition structure – in other words, do NOT select the default “erase and install…” , but rather the “Something else” choice, and tell it to put the root partition on the same partition you noted in step 4.
- Install rEFInd (http://www.rodsbooks.com/refind/) from a rEFInd install disk, that you downloaded and burned from there. (I used v0.74). Be sure to install it in the /boot/efi partition (typically /dev/sda2) created earlier. The reason to install rEFInd, is it’s an invaluable tool to use to boot from any EFI-capable location on your computer, and will be used later on. I put mine in EFI\refind\refind_x64.efi
- Be sure to also copy shell64.efi into /boot/efi/EFI/tools/, so rEFInd can find it, and show you the EFI Shell choice & icon.
- Boot from rEFInd.
- Choose the EFI shell.
- Using the bcfg command, (help -v bcfg is your friend!), list the boot choices, and verify that “ubuntu” is there.
- Add “mint” as a boot choice, pointing to EFI\linuxmint\grub64.efi – mimic the way the “ubuntu” boot choice is done.
- Reboot into the boot menu (hold Esc down during the Asus logo) and verify that “mint” and “rEFInd” are there.
- Test them both out – rEFInd should also give other interesting choices you can try out.
- You should be able to launch Mint from either the “Mint” choice in the Asus boot (holding Esc), or from the Mint choice in rEFInd.
- Optionally, you can add the 2nd SSD (mentioned in step 3) to the main volume using LVM, to use the full 256GB.
That’s it!
Wrap and Beverage
I must say, this is a BEAUTIFUL machine – I want one myself!
Between the FullHD display, and being roughly the same thickness and sizeas the magazines I often carry into any given bar / restaurant here in Los Gatos, this is a joy compared to my regular 1920×1080 Asus laptop..
…And it beats the heck out of a tablet..
…And the battery life seems great, it barely made a dent in the hour or so I spent surfing with it while drinking my beverage of choice at one of the local establishments here.
…And did I mention it’s screaming fast, with the i7 CPU and 10GB RAM?!
Bon Appetit,
j
joe October 20th, 2013
Posted In: How-To, Laptop cookbooks, New products, News, Open Source, Products, ubuntu
Tags: Dual-boot, EFI, FHD, FullHD, Mint, rEFInd, rEFIt, ubuntu, UEFI