eRacks Systems Tech Blog
Open Source Experts Since 1999
AresPro line of high-end desktops now available online
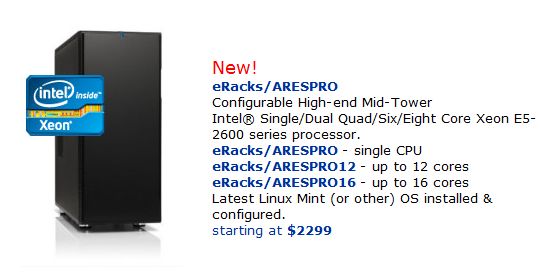
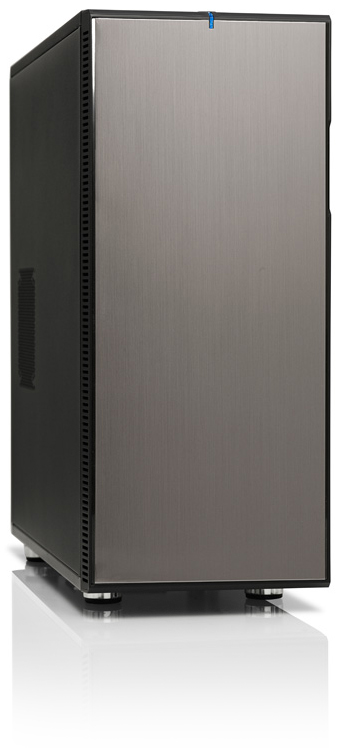
This eRacks/ARESPRO8 system uses a single socket motherboard and supports up to 8-cores. If you need more power, see the AresPro Dual Socket systems: eracks/ARESPRO12 and the eracks/ARESPRO16 .
Greg May 30th, 2012
Posted In: Uncategorized
eRacks announces AresPro line of high performance desktop computers: an affordable and fully upgradeable workstation custom tailored for engineers, graphic designers, video editors, and gamers
eRacks Open Source Systems announces the AresPro line of high-performance fully customizable desktop workstations powered by the Intel Xeon chipset. The AresPro line is the perfect solution for engineers, graphic designers, video editors, high-end gamers, and video game designers looking for an affordable and fully upgradeable system. The eRacks AresPro line delivers more processing power, more graphics performance and more storage options than anything else on the market.
The 16 core AresPro will easily be able to handle even the most demanding programs such as Maya, CAD, SAS Enterprise, 3ds Max, Ableton, and Avid. It features two 8-Core Intel Xeon processors, 8GB DDR3 SDRAM expandable to 768GB, NVIDIA GeForce 560ti graphics card, and expandability up to 10 4TB hard drives. SSD, liquid cooling, rackmount chassis and quietization options will also be available online through the eRacks website. AresPro is compatible with the entire line of M-Audio hardware and supports Windows 7, Ubuntu, Centos, Linux Mint and many other Linux distros. The AresPro line is also fully upgradeable, so you won’t have to worry about replacing it in a few years.
eRacks customization options make the AresPro line one of the most cost efficient purchases available in the high-end computer market. Every system is built in-house by eRacks in their California facility. Users will be able to work closely with the experts at eRacks regarding any questions about capabilities, compatibility and special system requirements. The unparalleled level of customer service ensures users get exactly the system they need.
eRacks focus on an upgradeable design is good for the environment and suitable for e-waste recycling, Greenbox.com.au too. Reducing waste during the assembly process, the focus on sustainable design, and a trade-in program for old computer systems all helps to keep harmful e-waste out of landfills.
Greg May 16th, 2012
Posted In: Uncategorized
Top 50 Open Source Companies
In 2008, the VAR Guy named eRacks as one of the top 50 Open Source companies. He just updated his list with some current stats. Only 2 of the 50 companies on his list have tanked, while 6 have been acquired by larger companies. I was not surprised to see that nearly all of the companies on his list are now focused on some aspect of cloud computing.
http://www.thevarguy.com/2012/05/09/top-50-open-source-companies-where-are-they-now/
Greg May 9th, 2012
Posted In: Uncategorized
NASA shuttle over Washington DC
eRacks recently designed a custom series of g-force tolerant servers for NASA, so we were especially excited when these photos popped up in our Facebook news-feed. Photo credit goes to Constantine Kyrou.
Greg April 18th, 2012
Posted In: Uncategorized
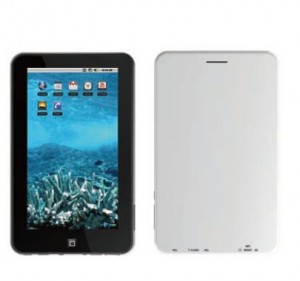
eRacks beta-testing an Ubuntu based tablet
 eRacks is set to begin testing a Linux Ubuntu based tablet. The 7 inch tablet would retail for around $200 and would include several key features missing from the Kindle Fire: including a micro SD slot, a built in ip cameras live 24/7 while the battery has power, HDMI out and GPS support. If you’re in the market for a tablet, you may want to keep an eye on the eRacks website. An upcoming software update would make it possible for the tablet install and run Android apps.
Greg April 13th, 2012
Posted In: Uncategorized
Tags: Android, eRacks, google tablet, ipad 3, kindle fire, linux, Open Source, ubuntu


