
eRacks Systems Tech Blog
Open Source Experts Since 1999
CentOS, Stream, 7, Rocky Linux, Alma Linux, RedHat
As many of our readers know, CentOS (Community Enterprise Operating System) was developed in response to the trademark issues surrounding RedHat Enterprise Linux (RHEL) in the early 2000s, and provided a functionally-compatible OS to the corresponding upstream RedHat version.
Around 2014, RedHat bought CentOS, and agreed to keep it as-is, and separate from RHEL.
CentOS is Dead
As so often happens after acquisitions, in December 2020, Red Hat discontinued CentOS development, causing much upheaval in the Open Source community, and leaving the existing CentOS user base without a clear path forward.

Long Live CentOS
In response, CentOS original founder Gregory Kurtzer created the Rocky Linux project, as a successor, true to the original goals of CentOS.
In March 2021, Cloud Linux (makers of CloudLinux OS) released a new RHEL derivative called AlmaLinux.

CentOS Linux was discontinued at the end of 2021 in favor of CentOS Stream, a distribution positioned upstream of RHEL, but below Fedora.
CentOS Stream is still useful for many, despite having different goals now and a different use-case, and no longer being binary-compatible with RedHat – it’s a bit like a “Release Candidate” idea for Fedora, now.
This gets RedHat’s offerings a bit closer to the Debian release of Stable/Testing/Unstable, corresponding roughly to RHEL/CentOS/Fedora, in order.
RedHat Backtracks

In Addition, RedHat addressed all the Bruhaha by making RHEL free for up to 16 systems, as a migration path, considering that they also chopped 8 years off the previously announced and counted-on 10-year support period for Centos8.
But given their track record, many (including this writer) are skeptical that RedHat may again use this to tighten the grip of Vendor Lock-In, in some future version of doing as they did in 2020.
eRacks Systems Offerings

Be that as it may, eRacks Systems now offers all the OSes preinstalled and pre-configured to your preferences, in the dropdowns:
- Centos 7 (last supported RHEL clone, currently 7.9)
- CentOS Stream Latest (Currently 9)
- Rocky Linux Latest (Currently 9)
- Rocky Linux Previous (Currently 8)
- Alma Linux Latest (Currently 9)
- Alma Linux Previous (Currently 8)
- RedHat Enterprise Linux (Now available preinstalled at no charge, for you to set up with your account on receipt)
As always, if you want a more specific version or distro, just ask.
j
joe March 12th, 2023
Posted In: Uncategorized
Tags: CentOS, Open Source, operating system, OS, Red Hat
Linux Mint 21.1 (Vera) is Now Available with eRacks Systems.
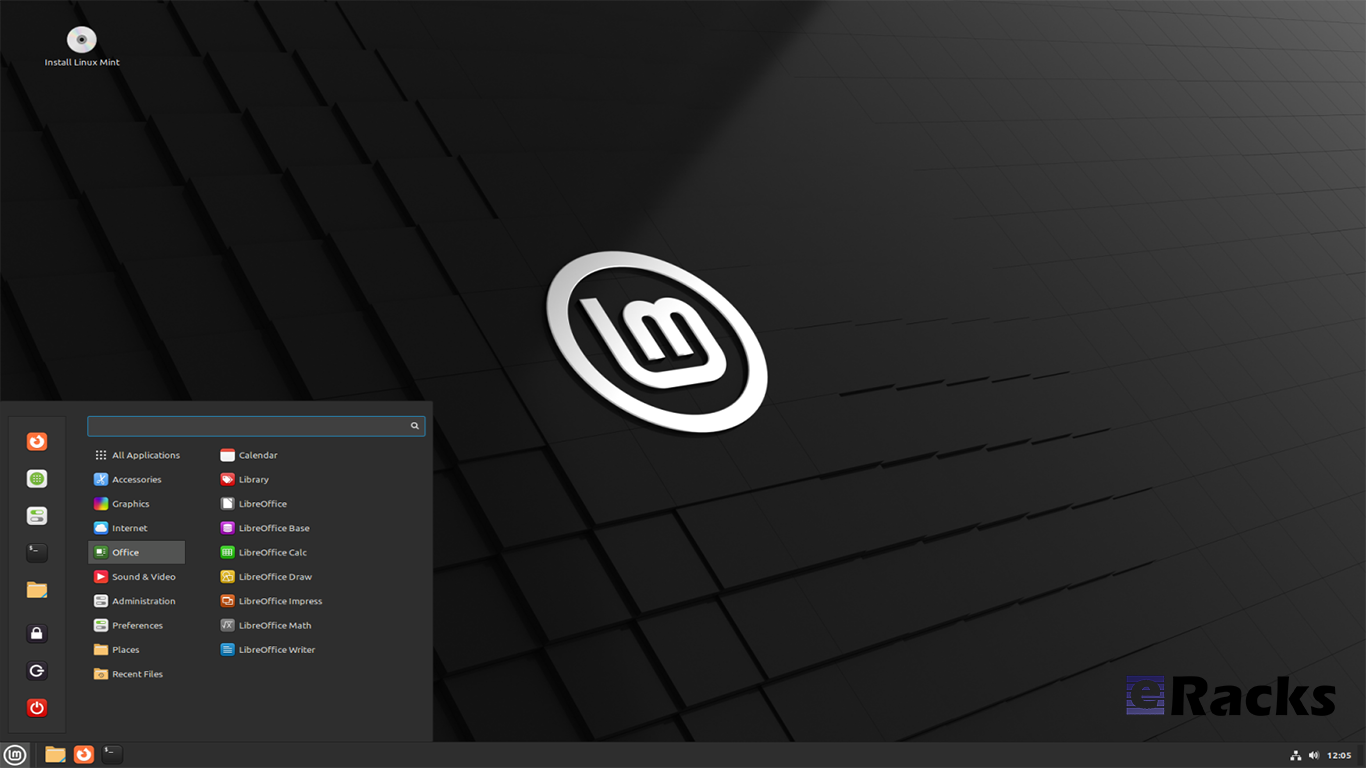
Linux Mint 21.1 “Vera” was released on December 20, 2022, a full 14 days after the beta appeared. The popular Ubuntu-based distribution’s intuitive desktop environments make it especially popular among newcomers to Linux.
Linux Mint 21.1 code name “Vera”, brings several interface changes including a cleaner desktop with more vibrant colors. Vera also sees the arrival of more controls in the update, driver, and software managers. New system sounds, ISO tools, and mouse pointers round out this update to the popular Linux distribution.
Let’s see what new Linux Mint 21.1 has in its store for users.
Linux Mint
Linux Mint is one of the most successful distributions based on Ubuntu. And with the number of Ubuntu derivatives out there, that’s saying something. Linux Mint must be doing a lot of things right—at least, according to its passionate user base.
Linux Mint is focused on desktops and laptops. It provides customized desktop environments with a choice of Cinnamon, Xfce, and Mate. It has the Snap store disabled by default; a move first made in Linux Mint 20.
Linux Mint doesn’t have a server version. Its purpose is to provide a simple, intuitive, attractive desktop Linux experience for its users, especially newcomers to the Linux world. The Linux Mint team want a mac or Windows user to be comfortable with Linux Mint within a short time.
Linux kernel
The release will continue to use the Linux 5.15 LTS kernel under the hood, based on Ubuntu 22.04 LTS.
A Refreshed User Interface
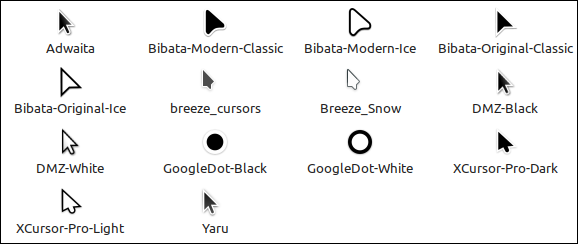
When you first boot into the desktop, you should quickly notice the new look of the cursor. It features the new Bibata theme by default.

The cursor icon theme inventory has new options like Yaru, Breeze, and GoogleDot along with the traditional DMZ theme.
Users will also find a unique set of app icon themes to choose from in addition to the traditional Mint-X, Mint-Y, and Mint-Legacy themes. This includes Papirus, Breeze, Numix, and Yaru.

Another interesting thing you may notice is the default accent color isn’t the traditional green anymore, and that’s because the desktop theme is now switched to Aqua. The accent color library offers more vibrant colors and gives the desktop a clean and attractive look.
For those who want the legacy look back, there exists a “Mint-Y-Legacy” option in the theme options.
Moreover, the Computer, Home, Networks, and Trash icons previously visible on the desktop are removed by default and can be accessed in the file manager. The Home folder icon is displayed on the panel instead. If you want to return the old arrangement, you can do so by heading to the system preferences.
Cleaner Desktop
The desktop has been purged. The “home”, “computer”, “trash”, and “network” icons have been removed.
Clicking the folder icon pinned to the panel opens your “home” directory in the Nemo file browser, so it is still only one click away. Counter-intuitively, its tooltip reads “Files”, but it gives you a fast way to get to Nemo and your “home” directory all in one.
The “computer”, “trash”, and “network” locations are available through the “Go” menu in Nemo or by searching in the start menu.

Files that you copy or save to “~/Desktop” still show up on the desktop, as do mounted devices.
There’s the usual selection of new background wallpapers. You’ve got access to the generic Linux Mint wallpapers, the backgrounds from the Linux Mint 21 Vanessa release, and the new Vera-specific backgrounds.
It’s a stunning collection of images by skilled photographers. Whoever curated these backgrounds did a great job too.
There’s a new “Show Desktop” button at the extreme right-hand end of the panel. It hides all open windows, clearing the desktop with a single mouse click.
It’s practically invisible, but it’s there. Point at it, and you’ll see its tooltip.
A Modern Mouse Pointer
The default mouse pointer has changed. Linux Mint 21.1 uses “Bibata Modern Classic”, which has a gently rounded shape without a tail.
A Modern Mouse Pointer
With all of these cosmetic tweaks, what looks good is subjective. If you don’t like the defaults, you can change them in a flash to something more agreeable to you.
New System Sounds
The system sounds have been updated. As before, the volume can be adjusted, and individual sounds can be switched on and off if they’re too distracting.
A Liberated Driver Manager
The Driver Manager application has been changed to run in user mode. This means it’ll run without the need for a password.
It searches your computer for drivers that are installed and in use, then lists them. It’ll also identify missing drivers and offer to install them.
Our test machine didn’t require any additional drivers, but it’s nice to know that you’ve got a helping hand if your computer does need them.
Enhanced Update Manager
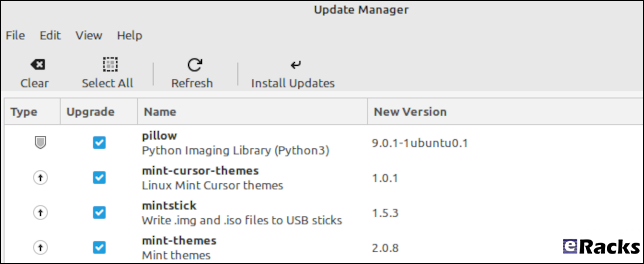
A similar amount of assistance and hand-holding is available in the Update Manager. It makes what can become a complicated task very easy. You can select the packages that you want to update, and exclude those you’re not interested in at this time.
Significantly, support for updating flatpaks has been added.
More Control in Software Manager
If a flatpack is available for an application, the Software Manager let’s you choose between installing a DEB “System Package” or a flatpack.
It’s not the flashiest software store application, but it looks good and works well. You can find what you want quickly from a huge choice of software, and you get a choice of install types, too. I’ll take that over eye candy any day.
New USB Tools
As you’d expect USB Image Writer tool lets you select an ISO image and the USB stick you want to write the image to. It also has a “Verify” button which lets you verify the authenticity of the ISO image before you burn it, which is convenient.
The USB Stick Formatter tool formats USB sticks for you. You can pick a USB stick, set its device name, and choose a file system. There are four file systems supported:
- FAT32
- exFAT
- NTFS
- ext4
Other improvements
The code which lets you remove applications from the main menu was reviewed and password prompts were removed in situations where administrative permissions weren’t required.
Removing a Flatpak will no longer require a password to be entered. Same goes for simple shortcuts and local applications (i.e. applications which aren’t installed system-wide).

Synaptic and the Update Manager will now also ask pkexec to remember your password so you won’t have to enter it every single time if you perform multiple operations.
Following the upstream deprecation of apt-key, the Software Sources received changes to rework the way it handles PPA keys.
When a PPA is added its key is now only accepted for the PPA itself, not globally for all APT Sources.
Continuous integration for all Linux Mint projects moved from Circle CI to Github Actions. This gives the development team greater control over docker.
Documentation was written and added to the User Guide to cover the following topics:
- How to reset a forgotten password
- How to have Bluetooth disabled at boot
- How to make a Windows live USB stick or a multiboot USB stick
Summary of changes

- First point release of Linux Mint 21, based on Ubuntu 22.04.1 release
- Linux Kernel 5.15 LTS
- Cinnamon 5.6.4 desktop
- Xfce 4.16 desktop
- MATE 1.26 desktop
- Friendly driver manager
- Cleaner default desktop view with fewer icons
- Default theme changes to “Mint-Y-Aqua” from the green-based icons
- New cursor theme: Bibata (one of the best cursor themes in Linux)
- A bunch of stunning wallpapers
- And an array of bug fixes
Including these, there are lot of new features in this new release. Start using new Linux Mint 21.1 to get the full experiences.
To get the Linux Mint 21.1 on your system, simply upgrade the existing Linux Minx 20.x or do a clean install.
Upgrading to Linux Mint 21.1
Upgrading to Linux Mint 21.1 is simple. Long-time users of the distro will be familiar with the steps needed to do so:
- Use the Timeshift app to make a system snapshot
- Update any/all Cinnamon spices/applets/themes
- Open Update Manager and install any updates
- Select the “Upgrade” option in the ‘Edit’ menu of Update Manager
- Hit Install
Once all updates are downloaded, unpacked, and installed it’s advised to restart the computer. A reboot ensures all changes take effect, and that the system comes back-up functioning as intended by Linux Mint’s developers.
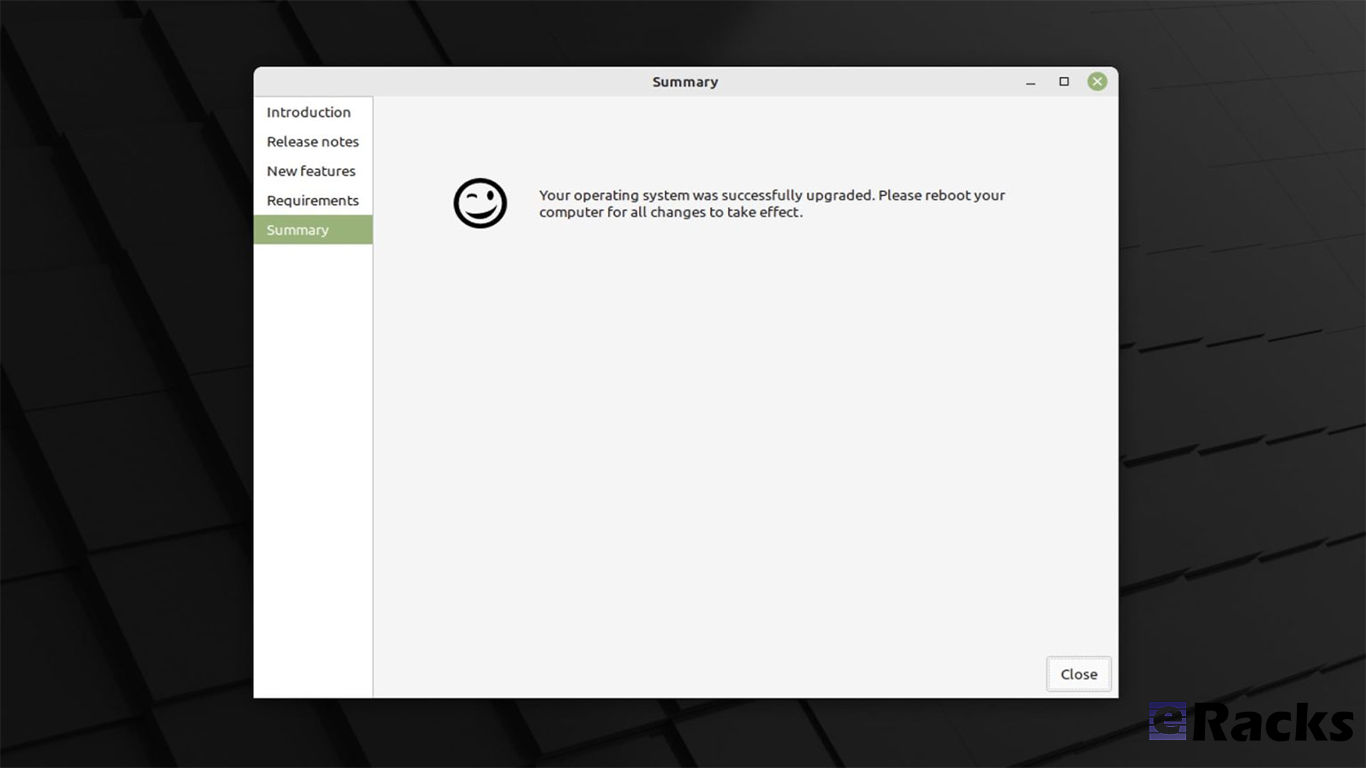
As mentioned, Linux Mint 21.1 includes a number of visual changes and new artwork. Anyone who makes the upgrade but doesn’t like the new folder icons or aqua color accents can revert to Linux Mint’s older look using the Welcome app available in the applications menu.
Before upgrading or clean install, make sure your system meets the minimum requirements. The system requirements are as follows.
System requirements:
- 2GB RAM (4GB recommended for a comfortable usage).
- 20GB of disk space (100GB recommended).
- 1024×768 resolution (on lower resolutions, press ALT to drag windows with the mouse if they don’t fit in the screen).
Conclusion
If your system doesn’t meet the minimum system requirements, or you need clean pre-installed new system, you can always get one from eRacks Systems store as pre-configured with Linux Mint 21.1.
Asif Raihan December 28th, 2022
Posted In: Laptop cookbooks, Linux, Mint, New products, Operating Systems, Upgrades
Tags: Desktop OS, Laptops, linux, LTS, Mint, multimedia, New products, Open Source, operating system
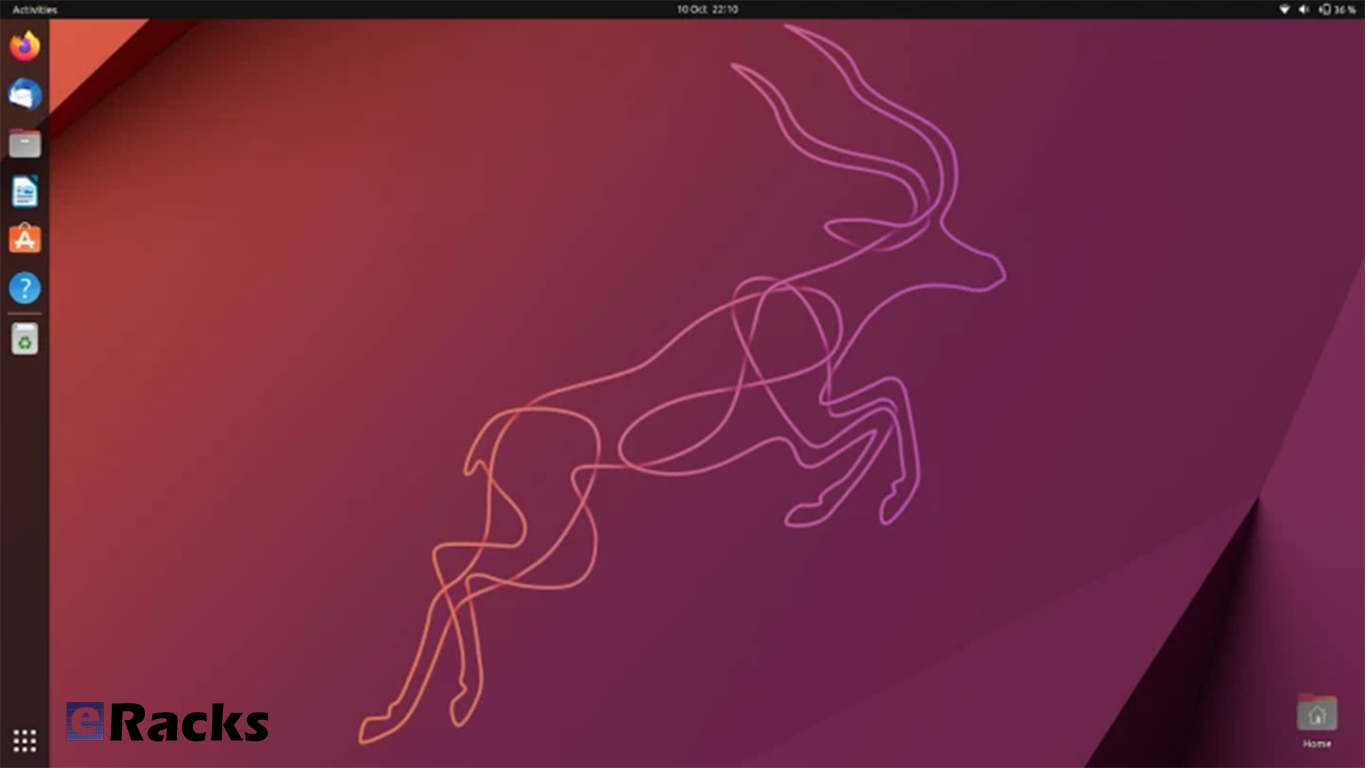
Ubuntu 22.10 “Kinetic Kudu” is here!
Ubuntu 22.10, codenamed “Kinetic Kudu”, is here with eRacks Systems. This release continues Ubuntu’s proud tradition of integrating the latest and greatest open-source technologies into a high-quality, easy-to-use Linux distribution. The team has been hard at work through this cycle, partnering with the community and our partners, to introduce new features and fix bugs.
Ubuntu Desktop 22.10 users will benefit from the refinements in GNOME 43, including GTK4 theming for improved performance and consistency. Quick Settings now provide faster access to commonly used options such as wifi, bluetooth, dark mode and power settings.
Since Ubuntu 22.10 “Kinetic Kudu” will be supported for 9 months until July 2023, it was released to the wider public on Oct 20, 2022. Here’s in short, what you can expect from the Ubuntu 22.10 release.
Linux kernel

Ubuntu 22.10 is shipped with the new 5.19 Linux kernel that brings the most relevant features (in addition to many other new features, new drivers, improvements and fixes.
GNOME 43
In Ubuntu 22.10, GNOME 43 is the base desktop version. GNOME 43 is an impressive release in terms of features and work around the GTK4 and libadwaita. A lot of features which was missed to reach in Ubuntu 22.04 LTS, finally arrived in this version.
Qemu
Qemu was updated to version v7.0.0 which brings many major and minor improvements.
libvirt
Tracking the releases of libvirt continuously version v8.6.0 is now provided in Ubuntu 22.10 which – among many other fixes, improvements and features.
Docker.io 20.10.16
This new version contains fixes to avoid potential lock issues and update its dependencies internally.
Security Improvements
AppArmor gained support for restricting access to unprivileged user namespaces. This allows a system administrator to configure their system so that only applications and services which are confined by an appropriate AppArmor profile can use this feature.
Summary of the key changes in Ubuntu 22.10

- Linux Kernel 5.19
- GNOME 43
- Pipewire by default
- IWD is replacing wpa_supplicant
- KDE Plasma 5.25 in Kubuntu
- LXQt 1.1.0 in Lubuntu
- Firefox 106
- LibreOffice 7.4
- Thunderbird 102
Including these, there are a lot of improvements. To experience the full improvements, you need to use one. You can download an installation file directly from here, or get a pre-installed ready to use system from eRacks Systems’ Store.
Asif Raihan October 28th, 2022
Posted In: Linux, LiveCD, New products, Open Source, Operating Systems, ubuntu, Zenbook
Tags: Laptops, linux, New products, Rolling Release, ubuntu, Zenbook
Red Hat® Enterprise Linux® 9 (RHEL 9) Released & Available With eRacks Systems!
Released in 17th May 2022, Red Hat® Enterprise Linux® 9 helps users innovate, optimize, protect, and trust their traditional and modern workloads across their datacenter, cloud, and edge environments. Red Hat Enterprise Linux remains an economic driver, with the overall Red Hat Enterprise Linux footprint forecast to touch more than $13 trillion of the global economy in 2022. RHEL 9 is now available with the following major features with all of the systems in eRacks.
Enhanced web console performance metrics
This feature makes it easy for the system admin and operation team to monitor and identify performance metrics. It allows quick report generation and presentation with one click.
Kernel live patching
It is one of the best features for managing kernel update, RHEL 9 provide the ability to manage kernel patching with a cockpit web console.
Streamlined image building
RHEL 9 comes with various improvements like an image builder that gives the ability to build RHEL8 and RHEL 9 images through a single build node. This feature is very useful for the developer community.
Improved container development
RHEL 9 ships launch with upgraded version podman with new features and advanced technology.
Link Time Optimization
It allows speeding up various applications and running services as well as source code inspection at the time of compilation.
Application Updates
You can find all application releases with new versions which available in RHEL8 such as newer versions available of Perl, python, ruby, git, apache, Nginx, MySQL, MariaDB, and more.
Enhanced security
- Smart card authentication via the web console.
- Additional SELinux security profiles.
- Detailed SSSD Logging and search capabilities.
- Integrated OpenSSL 3.
- Integrity Measurement Architecture allows you to dynamically verify the integrity of the OS.
- The SSH root password is now disabled by default.
Support for Newer Versions of Programming Languages
- RHEL 9.0 offers the following new versions of dynamic programming languages:
- PHP 8.0
- Node.JS 16
- Perl 5.32
- Python 3.9
- Ruby 3.0
Download Red Hat® Enterprise Linux® 9 (RHEL 9) for Free.
To download RHEL 9. Check out the Red Hat Enterprise Linux product page.
Or you can get the hassle free Pre-Installed Red Hat® Enterprise Linux® 9 (RHEL 9) or your preferred versions or any of your preferable Open-Source Distribution by purchasing any systems from eRacks Systems’ Store.
Asif Raihan May 30th, 2022
Posted In: Linux, New products, Open Source, Operating Systems, servers, Technology
Tags: linux, New products, Open Source, operating system, Red Hat, Releases, upgrade
Ubuntu 22.04 LTS “Jammy Jellyfish” Now Available!

The Long-Term Support release of Ubuntu, Ubuntu 22.04 LTS “Jammy Jellyfish” is now available as the Ubuntu default on all eRacks configurations. We also offer custom configurations of Ubuntu, including de-snapify 🙂
Note that one of our favorite Open Source protagonists, Martin Wimpress (Wimpy’s World), published these nifty AI-generated images of what a “Jammy Jellyfish” should look like, and we’ve used one of them here 🙂
Cheers,
eRacks Admin
admin April 29th, 2022
Posted In: Debian, Linux, News, Open Source, Operating Systems, ubuntu, Upgrades
Tags: 22.04, Debian, Jammy, LTS, operating system, OS, ubuntu